How to Take Screenshot in Iphone, Best Guide-2024
New Methods How to Take Screenshot in Iphone.
Friends if you are searching for how to take screenshot in iPhone? Then this article is only for you. You need only to read this full article till the end to know latest and best method of taking screenshot on your iPhone

Taking a screenshot on an iPhone is a basic and necessary feature that can come in handy in various situations. Whether you want to capture a memorable moment, save a receipt or document, or share an interesting conversation, taking a screenshot is an efficient way to do so. In this article, we will guide you through the steps to take a screenshot on an iPhone and share some useful tips and tricks.
How to take a screenshot on iPhone?
Taking a screenshot on an iPhone is straightforward and can be done with just a few steps. Depending on your iPhone model, the process may vary slightly.
For iPhone X and later models:
To take a screenshot on an iPhone X or later models, follow these steps:
- Step 1: To begin, simultaneously press the Side button and Volume Up button.
- Step 2: Release both buttons quickly.
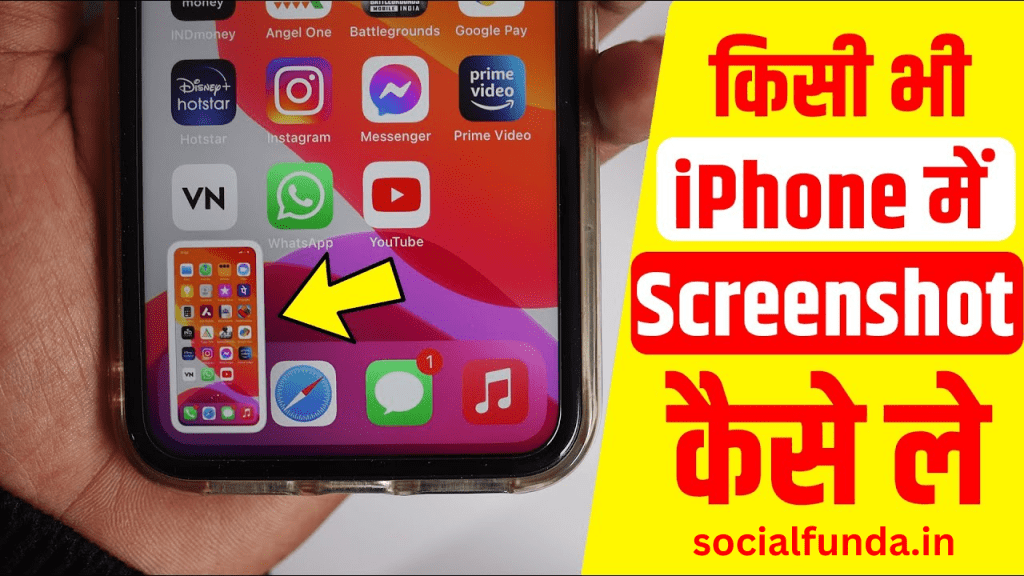
- Step 3: A thumbnail of the screenshot will appear in the bottom left corner of the screen. Tap it to edit or share the screenshot, or swipe it to the left to dismiss it.
For iPhone 8 and earlier models:
To take a screenshot on an iPhone 8 or earlier models, follow these steps:
- Step 1: To initiate the process, press both the Home button and the Sleep/Wake button simultaneously.
- Step 2: Release both buttons quickly.
- Step 3: A thumbnail of the screenshot will appear in the bottom left corner of the screen. Tap it to edit or share the screenshot, or swipe it to the left to dismiss it.
Tips and tricks for taking a screenshot on iPhone
Here are some useful tips and tricks to help you take better screenshots on your iPhone:
- Use AssistiveTouch: AssistiveTouch is a built-in feature on iPhones that allows you to perform various functions using a virtual button. To enable AssistiveTouch, go to Settings > Accessibility > Touch > AssistiveTouch and toggle it on. You can customize the AssistiveTouch menu to include a Screenshot option, making it easier to take screenshots with just one tap.
- Use Siri: If you have an iPhone with Siri, you can ask Siri to take a screenshot for you. Simply say, “Hey Siri, take a screenshot.”
- Edit your screenshots: After taking a screenshot, you can edit it by tapping the thumbnail that appears at the bottom left corner of the screen. You can crop, annotate, or add text to your screenshot before sharing it.
- Share your screenshots: You can share your screenshots directly from the thumbnail by tapping the Share button. You can also access your screenshots from the Photos app and share them from there.
- Use third-party apps: There are many third-party apps available on the App Store that can help you take and edit screenshots, such as Lightshot, Snapseed, and Skitch.
Taking a screenshot on an iPhone is a simple and useful feature that can come in handy in many situations. Whether you want to capture a funny meme, save a recipe, or share an interesting article, taking a screenshot is a quick and efficient way to do so. By following the steps and tips outlined in this article, you can take better screenshots on your iPhone and make the most out of this feature.

Deepak Sharma
Namaste! I’m Deepak Sharma, the creative mind behind SocialFunda, your go-to hub for Facebook bios, captivating captions, Instagram bios, and a treasure trove of Hindi Shayari. As a digital enthusiast, I am passionate about curating content that adds a touch of flair to your online presence.


